
Not every beginner photographer is familiar with white balance concept and use.
And it was the same case for me when I started to get into photography.
White Balance assist you to get the colours in your images as precise as possible.
There are a few ways how you can adjust your white balance and make your pictures look more natural.
In this tutorial I will focus on the easiest way that you can be 100% sure you will get your white balance right.
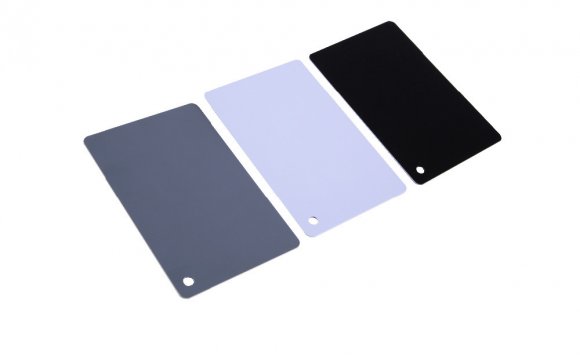
And it is using grey card. All you need to have is a grey card either purchased from a photography gear shop or you might have some neutral grey paper yourself (make sure it’s non reflective though).
I got my grey card from calumets (cost me around £20 pounds) and it came in two different sizes plus included grey and white references and black point handy for brightness/contrast adjustments (Amazon have a large range of Grey Cards starting at just a few dollars).
 Once you got your grey card then your life gets much easier in post processing. First you save lots of time without the need to adjust every picture and second you are able to batch process in seconds the rest of the pictures taken in the same light condition.
So let’s get started! This method is so quick and easy to do.
Once you turn your camera on – check your white balance on the camera is set to match closest the lighting type.
You need to look for a button on your camera with two capital letters WB and it is usually placed on the top right of canons near LCD screen and top left of Nikons.
 Press WB and set it to the appropriate light situation.
If however you are not sure what white balance option to use – the best option then is to leave it set to “auto white balance”.
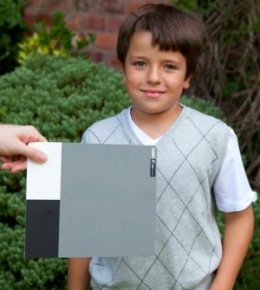
All you need to do is take a picture with gray card in that picture every time the light situation or the shooting location changes. You can either ask your subject to hold it or place it near it if it is still object.
When you upload the images on your computer and start retouching them – first thing to do is load a selection of same lighting situation pictures in camera raw (I am using adobe photoshop plugin for camera raw and I always shoot in raw), then find the picture with gray card and select the white balance tool from the top panel of camera raw tools and click on the gray card in your picture.
In the matter of a second it will adjust your white balance and correct the colors. All you need to do then is just synchronising all the other pictures in the open selection and voila! Very quick and easy to batch process loads of images. You can use this technique in Lightroom as well.
I really hope this quick tutorial has helped you to save lots of time in Post Processing and getting better quality images to your clients. I am always using this technique when I am shooting outdoors and weddings as I can be sure my white balance using grey card will be correct.
YOU MIGHT ALSO LIKE

![Episode 05 - White Balance [Digital Photography Today]](/img/video/episode_05_white_balance_digital.jpg)


