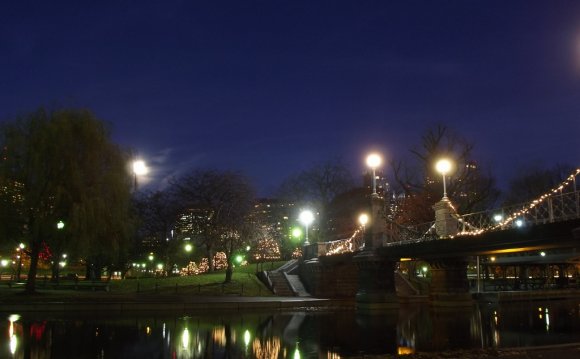
 When we see professional photographers on the news and in the movies it often appears that only the dSLR cameras and super-fast lenses they carry are capable of making great images. Most amateur shooters want to take good pictures too, but they don’t want to spend a lot of money on esoteric photographic gear or learn anything about f-stops. Consequently, many amateur/casual photographers believe that only complex and expensive gear can produce truly beautiful photographs. Socket wrenches and screwdrivers don’t fix cars–good mechanics do! Cast iron skillets and French saut–pans don’t create delicious meals–good cooks do! The camera (like a cast iron skillet or a socket wrench) is simply a tool. And learning how to use that tool is how you can create amazing images.
Here’s an example: about thirty years ago I attended a long weekend photo workshop with F64 founding member Beaumont Newhall. At the end of the third day Mr. Newhall told us a story. For Christmas one year, Mr. Newhall and his old buddy Ansel Adams had agreed to spend no more than .00 each on their Chistmas gifts for each other. When they exchanged gifts, both were surprised to discover that they had received exactly the same present. Each of them had bought the other a Diana 6×6 camera. Diana cameras were cheap plastic cameras manufactured in the USSR that featured junky, light-leaking bodies, inaccurate and primitive spring driven mechanical shutters, and polished cast plastic lens elements. Folks who used Diana cameras had to first load their 120 roll film and then apply black electricians tape to all body seams to keep extraneous light from leaking into the camera and fogging the film. Diana cameras could be attached to a tripod, but the cheap plastic tripod socket was so thin that photographers had to be extremely careful not to attach the camera too tightly or the tripod’s metal screw would pierce the thin plastic bottom plate of the camera and create yet another light leak.
Mr. Newhall showed us about a dozen 8×10 B&W enlargements printed by Ansel Adams from the negatives that the two of them had shot with their Diana cameras and those pictures were all astonishingly good–gallery quality enlargements indeed. The moral of the story is–it isn’t the camera that creates great images, it is the person behind the camera. So, if you believe that you can’t shoot professional quality portraits with your compact P&S digital camera, you are mistaken. P&S digicams are cheaper, smaller, lighter, and generally easier to use than dSLR cameras and, up to 8×10 inch prints, good P&S enlargements are essentially indistinguishable from dSLR prints of the same size.
The digital imaging revolution increased the public’s interest in photography exponentially, but the first generations of digital cameras were worse than Diana cameras in terms of image quality. Since then, however, image quality, operational speed, and general performance have improved greatly. I have been a photographer for over forty years and I’ve been writing camera reviews since 1994 so I have used hundreds of different cameras. In my opinion, today’s P&S digital cameras can consistently produce excellent results.
Over the next few weeks, DigitalCameraReview.com will be publishing a series of articles that highlight how to take great pictures with your Point and Shoot camera. In this first article we will explain how to get great “people shots” with your camera. In the next article we will talk about how to get great action shots. Other articles will follow showing newbie photographers that getting great images is not as hard as it looks.
Setting/Locale
Think of some really cool places in your neck of the woods, because location choice can easily make the difference between a good picture and a great picture, or a good picture and a mediocre picture. Make mental notes whenever you’re out and about and you see a really cool location that makes you think, “That would be a really good place to take some pictures.”
Check Backgrounds Carefully
When choosing a setting you generally want to find somewhere with a simple background. You don’t want anything too busy, because that can get really distracting and take away from the subject you’re shooting. You really want to stay away from or at least minimize locations that are chaotic, busy, and full of distractions, or that feature graphic visual patterns. Blurry backgrounds can look pretty cool, but they are very hard to achieve because of the super short focal lengths of modern P&S digicams–which feature absolutely incredible depth of field.
Lighting for Portraits
For beginners, the sun should be behind you as you shoot your subject (front lighting) or off to either the slight right or slight left of your subject (side lighting). Usually the best time of day to take good pictures of people is about an hour after sunrise or about an hour before sunset–these brief windows of opportunity are called the “Golden Hour.” Avoid shooting portraits in the middle of the day because the lighting is bright and harsh–which creates hard shadows, dense dark areas, and burnt-out hot spots.


YOU MIGHT ALSO LIKE


